Setup OpenBSD as a daily driver using only the included, core programs. Based on OpenBSD 7.7.
The real requirements are having patience and a passion for keeping things minimal. It’s important to remeber that this setup isn’t the most user-friendly. There will be no config files to edit or download in this guide. We will be using the xenodm login manager paired with the default stacked window manager fvwm. And that’s it.
You have been warned!
Make sure you have the latest OpenBSD image formatted on a USB device (or burned to a CD if that’s your cup of tea!) and that your computer/laptop is set to boot from USB via the BIOS. Also make sure you are connected to the internet via ethernet cable (don’t worry, we’ll setup WiFi in a minute!)
Boot into the device and input the following when guided through the installer:
Installusx220 (or whatever you choose)em0autoconfnonedoneyesnousername (follow setup user steps)nosd0 etc.)noWHOLE diskAUTO layoutdonehttpnone1 (Toronto)pub/OpenBSD/7.6/amd64donedoneBefore we do anything, we should give our main user full access via doas. Login as root and run the following:
su -
echo "permit nopass :wheel" >> /etc/doas.conf
exit
The next steps will help you ensure you have the latest firmware.
Simply run the command: fw_update
To enable wifi on your device, run the following command (filling in the proper details where need be)
ifconfig iwn0 up
ifconfig iwn0 scan
echo "join WIFI-NAME wpakey PASSPHRASE" >> /etc/hostname.iwn0
echo "dhcp" >> /etc/hostname.iwn0
echo "inet6 autoconf" >> /etc/hostname.iwn0
echo "up powersave" >> /etc/hostname.iwn0
dhclient iwn0
Take note of the iwn0, as this might differ on your machine. (You can check this by running ifconfig)
You might also need to run doas sh /etc/netstart after.
This step is optional and targeted towards devices with batteries (laptops, IoT devices etc). Properly setup apmd:
rcctl enable apmd
rcctl set apmd flags -A
rcctl start apmd
Remember when we chose No when the installer asked us “X Window System start with xenodm?”. Well, now we want to enable that before our next reboot:
doas rcctl enable xenodm
Now reboot your device.
doas reboot
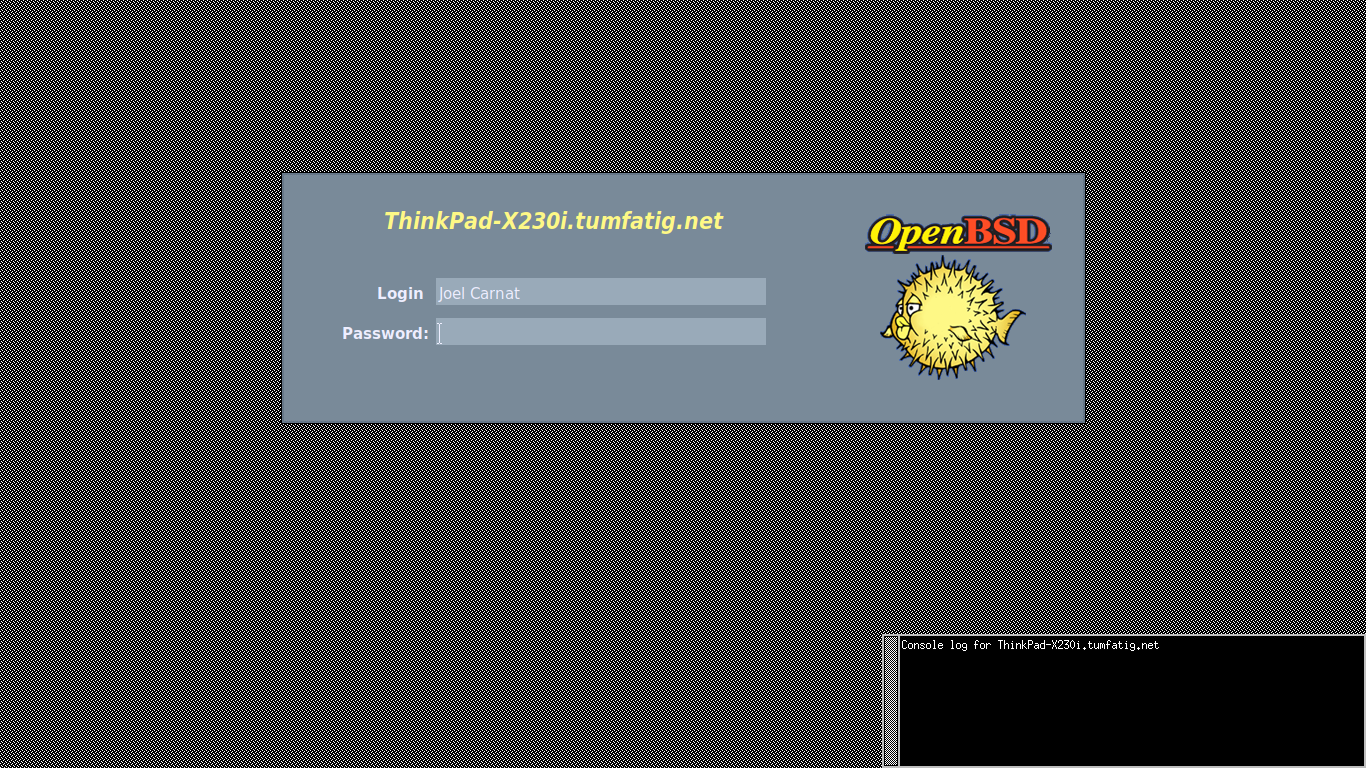
Now you will be presented with the glorious xenodm login screen.
Login with your created user details and you should see something like this:
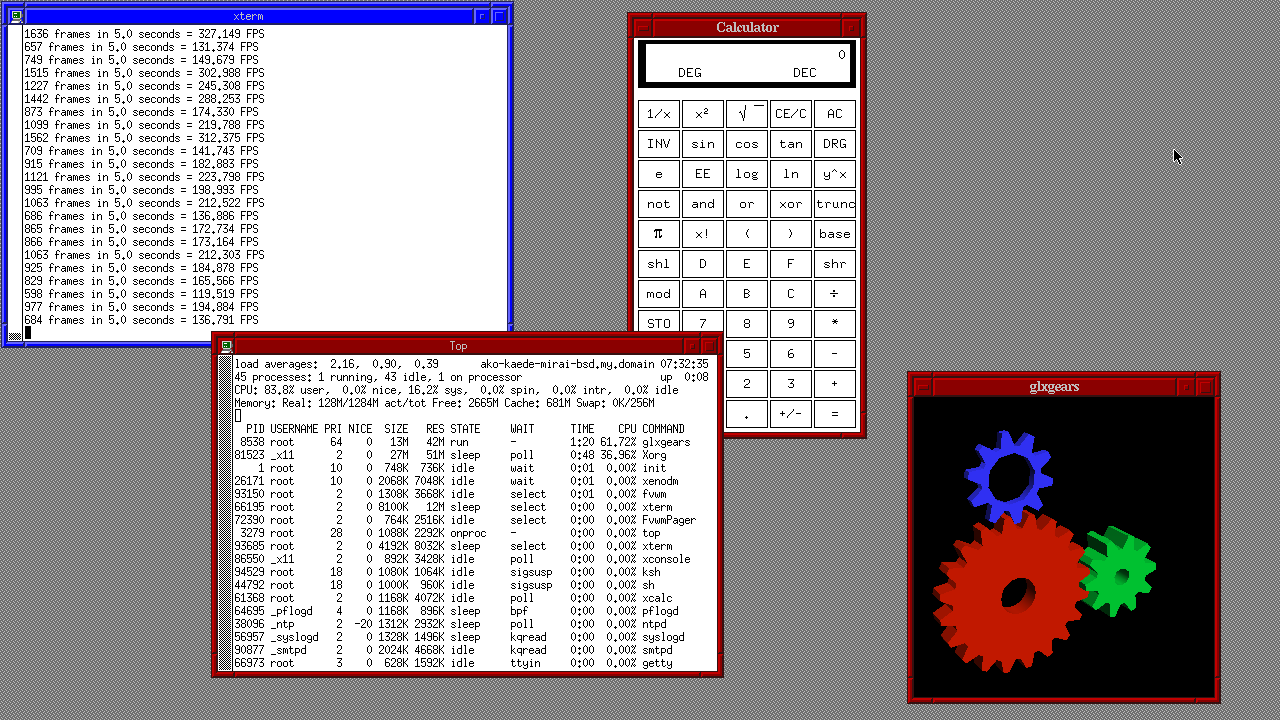
Absolutely glorious. You’ll also notice a 3x3 grid box in the bottom right corner:

This is called the “workspace pager” or “pager”. Each section represents an individual desktop (or workspace if your more familiar with MacOS terminology). You can click on any grid item to instantly move to that desktop.
You can also navigate around using the Ctl + ↑→↓← keys.
This section isn’t going to explain each and every single useful package included with the base install of OpenBSD. Instead, I highly recommend that you read the documentation associated with each program. You can read these manual pages from your terminal by running man <package-name>. Teach a man to fish and all that jazz…
cp, mv, rm, mkdir, find, xargs, diff, patch, file, tar, gzip, bzip2, xz, mt – typical file manipulation tools.ls, du, df, stat – for listing and inspecting files and disk usage.vi, mg – text editors (both included; mg is like Emacs-lite, vi is the classic).ed, sed, awk, cut, tr, sort, uniq, paste, tee – text processing tools.rcctl, sysctl, top, ps, kill, nice, renice – process and system control.pkg_add, pkg_info, pkg_delete, pkg_check – package management.lpr, lpq, lprm – basic printing.xterm, xcalc, xedit, xmessage, xlock, xwd - great “daily driver” tools shipped with xbasexset, xrandr, xmodmap – useful for configuring displays and keyboard/mouse.ftp is a full-featured command-line downloaderscp, sftp, ssh, telnet – for remote access and file transfers.ifconfig, hostname, route, netstat, tcpdump – network configuration and inspection.unveil, pledge – available for programs to restrict access and system calls (helpful for programs like Firefox, 3rd party editors).I would suggest the following packages once you feel like installing “additional”, non-base software:
These can be installed by running doas pkg_add <package> in the terminal.
If you’ve found this guide helpful or even sparked an interest in OpenBSD, please consider donating directly to the OpenBSD Project. A little goes a long way, and the OpenBSD Project is a volunteer-driven software group funded by donations!
I’m far from an OpenBSD expert! Please help improve this project!